Monday, 30 January 2012

Winter Walking


Scotty and I took the ladies a walk in the woods in Manchester.

Not the best idea to wear Doc Martins for muddy dog walking, but they were very waterproof and only needed a little bit of a clean aftwerwards.
The air was pretty chilly, but it added this lovely crisp fresh feeling to the scenery.

This is Ella tryi ng to chase a duck.... need I say more .
And seabear slowly trotting behind, as usual.
We are trying hard to stick to the new year's resolution of walking, and as it gets warmer i'm sure we'll be doing it a lot more.

Thursday, 26 January 2012

Minestrone Soup

For my lunch today I made Minestrone soup, which is one of my favourite varieties. I love the tomatoey (yes that is a word) juice with the chunky vegetables and the hint of the smoked bacon.

Minestrone Soup
Ingredients:
3 sticks celery
1 large onion
2 carrots
4 cloves garlic
2-3 tablespoons tomato puree
2-3 tins chopped tomatoes (depends how runny/thick you want your soup)
1 can cannellini beans
1/2 bag spinach
4 large cabbage leaves
2L stock cube (vegetable or chicken)
5-6 rashers smoked bacon
2-3 handfuls of pasta
Fennel Seeds, Chili flakes, smoked paprika (or whatever you like really)
 Fresh basil & coriander.

Cut bacon into strips, and saute in a frying pan with the onions until browned. Chop the celery and carrots into small chunks and add to the pan along with the minced garlic. You can now add your desired herbs and spices etc. Cook until slightly softened. Then add the chopped tomatoes, tomato puree and stock. Bring to boil for ten Min's. Now add the pasta, cabbage and cannellini beans and simmer for 20 minutes. Before serving add the spinach and season to taste.
Serve with warm crusty bread, chopped basil and coriander, and a shaving of Parmesan.
 Perfect for a cold night in, and made better if worn in a one-sie, or is that just me?!

Wednesday, 25 January 2012

Valentines 'Sweetheart'

 For Valentine's day, I created these two candy 'Sweet hearts' for the shop window display for my parents. We wanted something a bit different from the usual pink and red heart shapes, and came up with this quirky idea.
 These pictues arn't very clear as I took them once they were already in the window!
 This is a very simple DIY as I wasn't planning on making it a DIY, but once you have the supplies and idea, it's easy enough to make.
You will need :
Wreath or wooden/ plastic frame
LOTS OF GLUE STICKS for your glue gun, or super glue.
Variety of Sweets
White paint
Fishing Wire.
 1). I used this wooden wreath as the base for my heart. But you could use any other hollow shaped wreath or wooden frame to make one. With hindsight I would have chosen white as the undercoat, as the red darkened it a little too much, and I think white would look fresher and brighter. So if you are trying this out, spray or paint your base white and leave to dry.
 2) You need a heck of a lot of brightly coloured sweets. We used Lollipops, candy hearts, marshmellows, liquoirce and Quality Street as out main ones, but you can use whatever you like.
 3) Basically use your glue gun to attach the sweets to the wreath! I liked adding lots of greens, blues, red and yellows, as I felt primary colours worked well, and green brightens up the wreath better.
4) Keep checking what your wreath looks like from a distance and make sure that you dont leave any gaps, or have too many of the same colour by each other.
5) Lastly leave to dry and attach clear fishing wire to the top of the wreath, which will enable you to suspend it.
And Voila, one candy sweetheart for your valentine, or to hang on your wall.

Sunday, 22 January 2012

Alice in Wonderland exhibition, Liverpool.

 Yesterday I went to Liverpool with some friends to see the 'Alice in wonderland' exhibition in the Tate.
I stopped by at the shopping centre to get my favourite treat - Frozen yoghurt. I had plain yoghurt with Reece's cups, buttons and raspberry's.
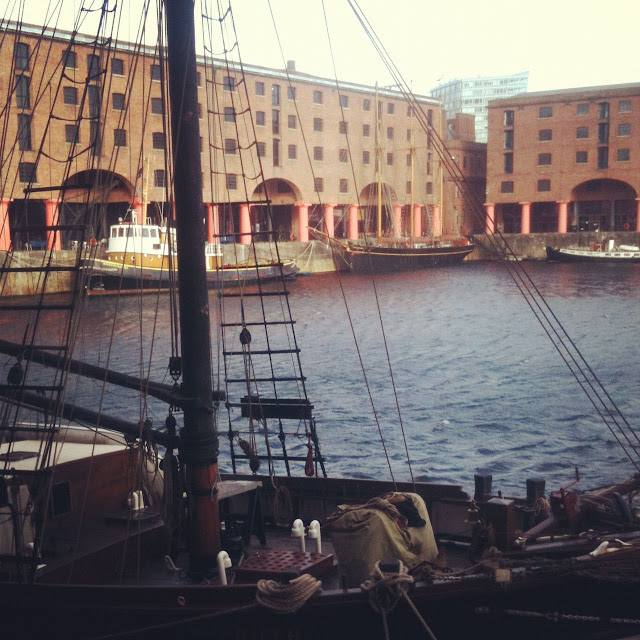
 This was a picture form the docs. The weather was awful and I forgot my coat... but I still had a lovely day.

 We stopped for a few sweets from this lovely retro feeling sweet shop.

This is what i chose in the end : Reece's peanut butter cups, Wonka's nerds, and two cherry lollipops.

Nobody wanted their picture taken whilst eating... but I managed to wangle this sneaky one. I love Rachel's newly dyed turquoise hair, it's so cool.

These suspended cakes are adorable! This was in the gallery shop, but it was my favourite part of the exhibition!
It's just so magical and exaggerated, just like the novel itself. The cakes were quite realistic, and looked really yummy. It was hard to take a picture as so many people were standing around, but you can get an idea of it how it looked.
We weren't allowed to take pictures in the exhibition... but I took this one quickly (hence the poor quality) I love the composition. and the way the photographer manages to make the girl appear larger than in reality, just like in the books.
The most impressive display of the day had to be the neon signs on the ground floor. The ceiling was covered in suspended neon signs depicting various words, all in different colours, with the wires hanging loosly beside them. It was so pretty and interesting, and made me inspired to use more light in my own artwork!

Debonding Day


 De-bonding day!!! ( Braces removed)  Thursday I had my braces removed, and boy it feels good.
I had them just over a year and a half, but it feels like forever!
I do have to wear a retainer for three months, and then only at night, but at least I have to freedom to take it out as and when I please which feels sooooo good. Sorry about the cringy pictures, I just was extremely happy! :)
Bring on the lipstick, apples, toffee and sweetcorn.......
(everything I couldnt eat or wear before).

Friday, 20 January 2012

Thumb Print Cookies


Thumb print cookies

I love this variety of biscuit. I really like how the sticky jam centre looks like a jewel, and lets face it, anything with jam in is always a winner.

Gregg's do a really awesome version of this biscuit called 'Jammy Star Biscuits' or as I like to call them 'Jammies!' But they haven't been selling them over the winter months, but hopefully they will re appear this summer. In the meantime this recipe is satisfying my needs.


3/4 pound (3 sticks) butter, at room temperature, 1 cup sugar, 1 teaspoon vanilla extract, 3 1/2 cups flour,
1/4 teaspoon salt, Raspberry and/or apricot jam.

Cream together the butter and sugar until they are just combined and then add the vanilla. Sift together the flour and salt. Add the flour mixture to the creamed butter and sugar. Mix until the dough starts to come together. On a floured board, roll together ingredients into a flat disk. Wrap in plastic and chill for 30 minutes.
Preheat the oven to 350 F. (Gas mark 4)
Roll the dough into roughly 1 tablespoon sized balls. Place the balls on grease proof paper and gently (using your thumb) create a well in the centre. Drop 1/4 teaspoon of jam into each well.
Bake for 20 to minutes. Cool and serve.


I always end up adding too many ingredients to my recipes, e.g here, Jam!!

Wednesday, 18 January 2012

My Creations


 I made these using the same technique as I demonstrated in the other post earlier, but these were made using a circular pin opposed to the vertical type. I use old and new beads to make the pieces, and use vintage charms from broken jewelry.
 These were made using the straight pin, but I bent the end to hold the hearts in place. (These are my mums favourite).
 I love the colours of these ones.

 These charms were from a flea market selling old broken jewelry in box's ( It was my dream come true finding them)!
 The are quite retro and 60's looking I think.
Lastly these were inspired my Smurfette after I saw Katy Perry's dress for the smurfs premiere.

I hope you like them.

DIY Earring's

 Today I made a simple D.I.Y of how to make your own earring's. I love earrings but sometimes I'm fussy with the ones in the shops, and they can also be quite expensive, so this DIY is useful for making your own original style earring's.
.
Supplies - These pliers I used are awful, ideally you should invest in some thinner jewelry specific ones, but these do work, it's just a bit more awkward.
1) Pliers
2) Gold or silver earring Pins/Needles.
3) Gold or silver Earring heads.
4) A selection of colourful beads.
(You can purchase jewelry making equipment very cheaply from Amazon or your local Craft store e.g HobbyCraft)

Step 1.) Use your jewelry needle/pin and thread your desired beads onto it. This is the best part for me, as I love choosing colour combination's. Remember you need to have two of every bead for the earrings to be symmetrical (unless you want them to be different, which could be pretty cool too).

Step 2.) Make a replica of the first earring, and make sure you leave roughly 6-8mm space at the top of the earring for the next step.
 
Step 3.) Then you need to use your pliers to bend the top of the earrings into a loop shape. This will be used to attach the earring head. You need to make sure it is tightly closed or the earring could become unattached later. 
 Step 4.) Now you need to open the hoop at the bottom of the earring head with the pliers, which will enable you to attatch the earring to it.

 Step 5.) Lastly, you need to slip the hoop from the earring pin onto the earring head, and use the pliers to close the hoop tight. And there you have it, a simple pair of earrings in 5 easy steps.

 This is probably very wrong according to the 'How to make jewlery properly book', but it works for me, and hopefully may inspire you to make some for yourself !

I will post some other earring's I have already made in a little bit...